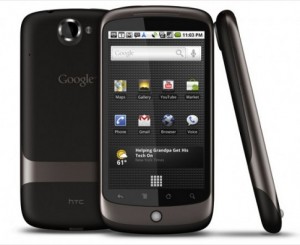
Updating the radio on your Nexus One

Updating your radio on your handset can sometimes provide better coverage or faster speeds when using data. You can usually find these radios scattered all over the net, but for our update on the Nexus One (N1), it can be downloaded from Cyanogenmod. We’ll be using the 05.12.00.08 radio upgrade from 4.06.
Although it states this .zip is flashable via your favorite recovery, it’s much easier and safer to do it via fastboot using adb. Assuming you have some knowledge of how adb works, go through the following steps for this update.
- Download the .zip from CM’s website and extract the radio.img file to your adb/tools directory.
- With your N1 powered off, boot into your bootloader (vol down + power on).
- Connect a micro usb cable from the N1 to your computer.
- Navigate to your adb/tools directory via a command prompt in your Windows installation. Issue the command “fastboot devices“. You will see your device listed.
- Stop if you do not see your device listed. You will need to make sure drivers for your N1 have been installed and/or loaded correctly at this point.
- If you do see your device listed, issue the command “fastboot flash radio radio.img“. You will see something like the following: sending ‘radio’ (26112 KB)… OKAY [ 3.866s] writing ‘radio’… OKAY [ 31.912s] finished. total time: 35.778s
- Reboot your handset and you are all done. You can verify the radio has taken by going back into your bootloader or by going to your About Phone section in Settings.
You must log in to post a comment.